
You can ride the same bike on three different roads in one week and feel three completely different results. The tires did not change. The surface did. Fresh asphalt feels fast and quiet. Chip seal feels rough. Gravel moves under the wheels. Each surface pushes back in its own way.
Tire pressure should respond to that change. Small adjustments often transform how the bike handles, corners, and absorbs shock. This guide looks at how different road and trail surfaces affect PSI decisions in real riding conditions.
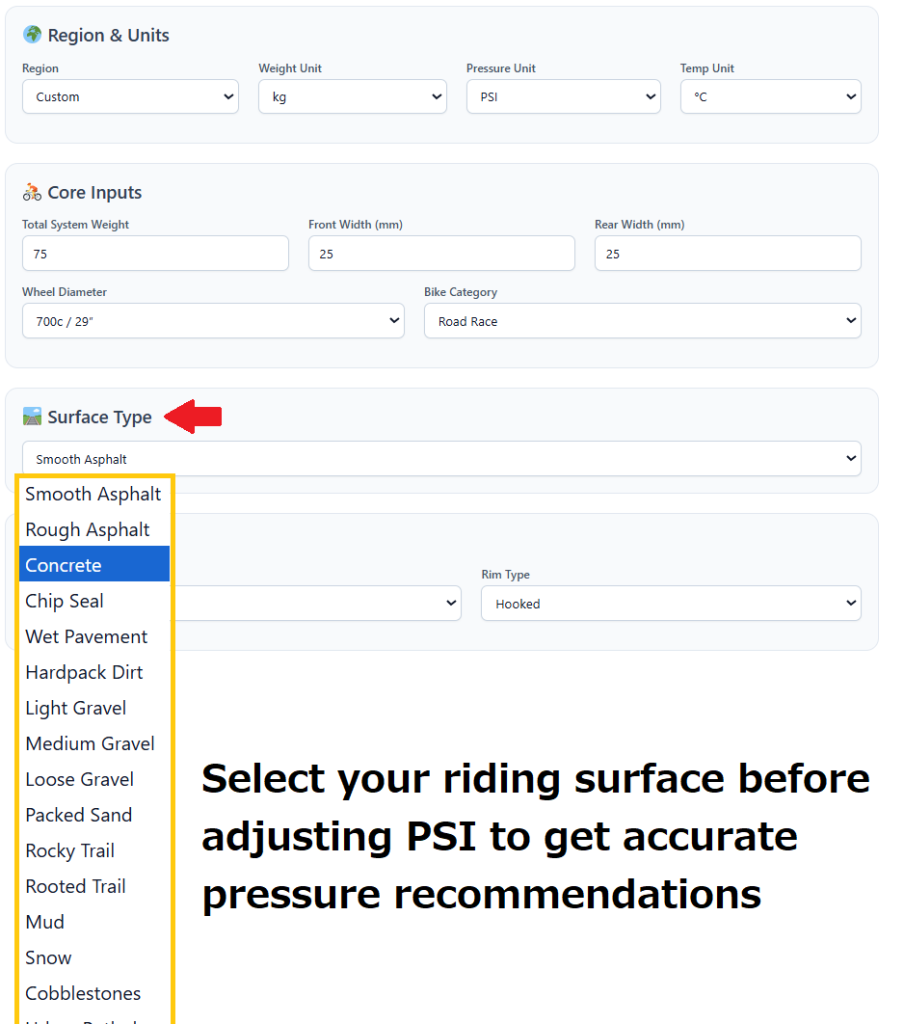
Smooth Asphalt: Controlled Efficiency
Fresh asphalt feels fast. It allows slightly higher pressure without harsh feedback. Higher PSI reduces casing flex. That helps maintain speed on clean pavement. Still, avoid maxing out the sidewall number. Too much pressure causes small road vibrations. Those vibrations waste energy and reduce corner grip.
On smooth asphalt:
- Road riders often stay near their calculated base pressure.
- Gravel riders can raise pressure slightly if terrain stays clean.
Start with your calculated baseline. Adjust 2–4 PSI if the road feels extremely smooth.
If you want to calculate a proper base value before surface adjustment, use this tire pressure calculator to match weight, tire width, and bike type:
Surface tuning works best after a correct baseline.
Hot weather increases tire pressure slightly, so check PSI before long rides.
Rough Asphalt and Chip Seal: Reduce the Bounce
Rough asphalt and chip seal create constant micro impacts. High pressure makes the bike chatter. Chatter reduces grip. It also increases fatigue. Lowering pressure allows the tire to absorb vibration. That improves control and stability.
Typical adjustment:
- Drop 3–6 PSI from smooth asphalt settings.
- Heavier riders may drop slightly more.
- Wider tires require smaller changes.
The goal is traction without feeling sluggish.
Concrete Roads: Small Adjustment Matters
Concrete feels firm and rigid under the tires. It does not flex like asphalt. Expansion joints create repeated impact points that travel through the frame. Many riders use the same PSI they use on smooth asphalt. That often feels sharp and fatiguing over longer rides. The bike may feel fast at first, but comfort drops quickly.
Reduce pressure slightly. Even 2–3 PSI softens the repeated hits from joints and seams. The tire absorbs more shock instead of passing it to your hands and saddle. You do not need a big change. Small adjustments work best on concrete. The goal is to keep efficiency without turning the ride harsh. Concrete rewards balance, not stiffness.
For general tire pressure tips and how air pressure affects ride comfort and control, see these expert tire pressure tips for riders.
Wet Pavement: Increase Contact Patch
Wet roads reduce traction. Grip depends on tire compound and tread condition, but pressure also shapes how the tire contacts the surface. Lowering pressure slightly increases the contact patch. That gives better corner stability and braking control. The tire stays planted instead of feeling nervous.
Adjustment rule:
Drop 2–5 PSI from dry-road settings. Avoid large drops. Too little pressure creates a soft feel and slower steering response.
The bike should feel secure and predictable. Grip should feel stable, not vague.
Cobblestones and Urban Potholes: Control Over Speed
Cobbles and broken city streets punish high pressure quickly. Hard PSI causes the bike to bounce across uneven stones. Bouncing reduces traction. It also increases the chance of rim damage and hand fatigue. Comfort drops fast on long cobbled stretches.
Lower pressure absorbs impact and keeps the tire in contact with the surface. The ride becomes more controlled, even if it feels slightly slower.
On cobbles or pothole-heavy routes:
- Reduce pressure moderately.
- Avoid extreme drops that risk pinch flats.
Control matters more than small speed gains on rough urban roads.
Other Guide: Silca vs SRAM Tire Pressure Calculator: Real-World Accuracy Test
Hardpack Dirt: Road Feel With Cushion
Hardpack dirt looks smooth but hides small ruts and loose dust. It behaves like imperfect asphalt. Moderate pressure works best here. Too high and the tire skips across loose particles. Too low and rolling resistance increases on firm sections. A small reduction from asphalt pressure usually works well. The tire grips better without feeling slow. Hardpack rewards steady pressure, not extremes.
Gravel: Surface Defines the Pressure
Gravel varies in size and firmness. Light gravel feels very different from loose gravel. Pressure should reflect that difference.
Tubeless setups usually allow slightly lower pressure than tube setups.
Light Gravel
Light gravel sits close to hardpack. Keep moderate pressure. A small drop from road settings improves grip and reduces vibration. The tire should feel stable but not soft.
Medium Gravel
Medium gravel contains larger stones. It shifts under load. Lower pressure increases traction and smooths the ride. Too much PSI causes sliding in corners. Slightly reduced pressure helps the tire conform to uneven surfaces.
Loose Gravel
Loose gravel demands stability. The surface moves under acceleration and braking. Lower pressure increases surface contact and reduces washouts in turns. The tire floats more instead of cutting deep into loose stones.
Surface firmness decides how much you reduce PSI. Softer gravel usually needs a bigger adjustment. Rider weight also influences how much pressure reduction feels stable on loose surfaces. You can learn more about how rider weight affects tyre pressure here.
Always stay within your tire manufacturer’s recommended pressure range.
Packed Sand vs Loose Sand
Packed sand behaves like firm dirt. Moderate pressure works well. The surface supports the tire without major sink. Loose sand changes everything. High pressure digs into the surface and slows progress.
Lower PSI increases flotation and stability. The tire spreads load across a wider area. Extremely high pressure sinks into soft sand. Lower pressure keeps the bike moving forward with more control.
Rocky and Rooted Trails: Shock Absorption First
Rocky and rooted trails create sharp, uneven impact points. High pressure transfers those shocks directly into the wheel and rider. Lower pressure allows the tire to deform around rocks and roots. That improves grip and reduces harsh feedback.
Still, avoid going too low. Rim strikes become a risk on sharp edges. Trail riding requires balance between protection and traction. Enough pressure to protect the rim. Enough compliance to grip obstacles.
Mud and Snow: Traction Over Speed
Mud reduces traction quickly. Tires slide if contact is too narrow. Lower pressure increases footprint size. That improves control in slippery conditions. Steering becomes more predictable.
Snow behaves in a similar way. Lower PSI helps maintain stability and balance. Extreme drops are not always needed. Small controlled reductions often work better than drastic changes. Surface depth and temperature influence performance. Adjust gradually and test feel.
Read also about: How Temperature Changes Bike Tire Pressure PSI Guide
How to Think About Surface-Based Pressure
Surface type should guide your final adjustment, not your starting number.
First calculate proper baseline pressure based on weight and tire size. Then adjust according to terrain. If you need broader understanding of how weight, tire width, and bike category affect baseline PSI, this detailed pressure breakdown explains those core factors clearly.
If you need broader understanding of how weight, tire width, and bike category affect baseline PSI, this detailed breakdown explains those core factors clearly in our Road Bike Tyre Pressure Guide.
Surface tuning makes sense only after that foundation.
Practical Example
- Rider weight: 75 kg
- Bike category: Road race
- Tire width: 25mm
Baseline result: 90 PSI rear, 85 PSI front.
- On smooth asphalt: Keep baseline.
- On rough asphalt: Drop to 84 rear, 80 front.
- On wet pavement: Drop 3 PSI from dry setting.
- On cobbles: Drop moderately for stability.
Small surface-based adjustments create noticeable ride differences.
Test changes in small steps and ride the same stretch to compare feel.
Pingback: Road Bike Tyre Pressure: Weight, Width, Surface Guide
Pingback: How Rider Weight Changes Road Bike Tyre Pressure